This post contains affiliate links.

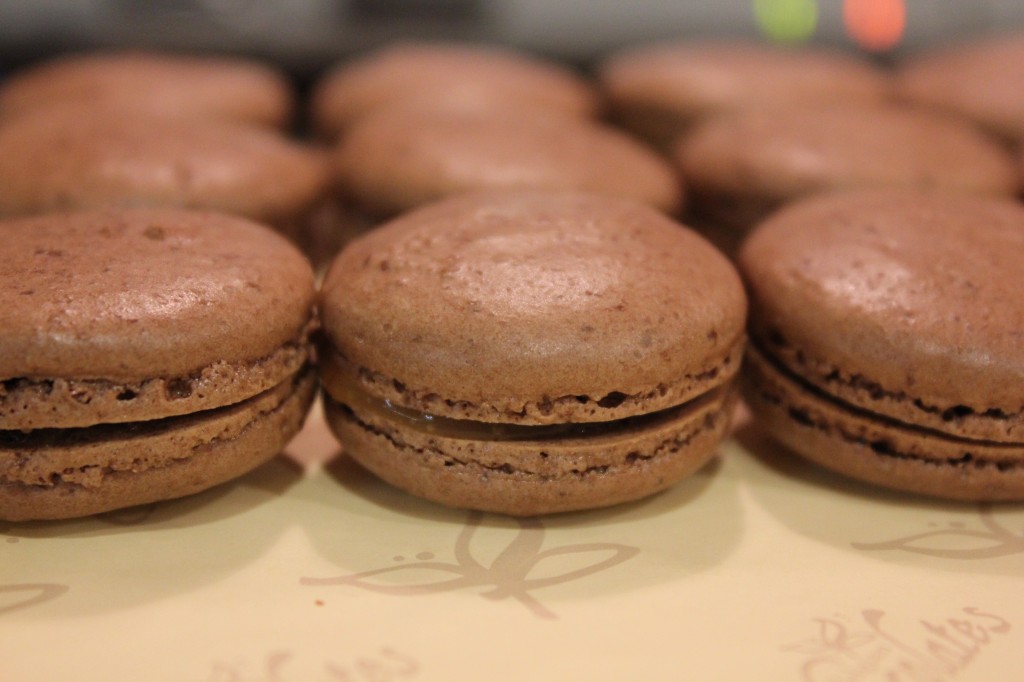
I love me some macarons! Crispy and crunchy on the outside and ooey gooey in the middle. This week my work has a cookie exchange/competition, which I have been told, is epic. I decided to pull out the big guns and whip up a batch of French macarons. They are a pretty hard cookie to make, but well worth the effort! I used Martha Stewarts Recipe with a few tweaks as usual. I substituted 1/4 cup of almond meal for 3 tablespoons of cocoa powder to make the macarons chocolate. A few weeks ago I was able to visit a restaurant in Los Angeles, Bottega Louie, which has the most amazing salted caramel macarons. I tried to recreate them myself and made homemade salted butter caramel. It was my very first time making homemade caramel and I used a dry method of making caramel and it was SO easy!
PrintChocolate French Macarons with Salted Butter Caramel- Step by Step
- Total Time: 2 hours
- Yield: 35 macarons 1x
Ingredients
Macaron Shells
- 1 cup of powdered sugar
- 1/2 cup of almond meal (I got mine from Trader Joe’s)
- 3 tablespoons of unsweetened cocoa powder
- 1/2 teaspoon of cream of tartar
- 1/4 cup of granulated sugar (I didn’t use super fine sugar and it turned out just fine)
- 2 egg whites
Salted Butter Caramel Filling
- 1 cup of granulated sugar
- 6 tablespoons of salted butter
- 2 teaspoons of sea salt
- 1/2 cup of heavy cream
Instructions
- Pre-heat the oven to 350 F
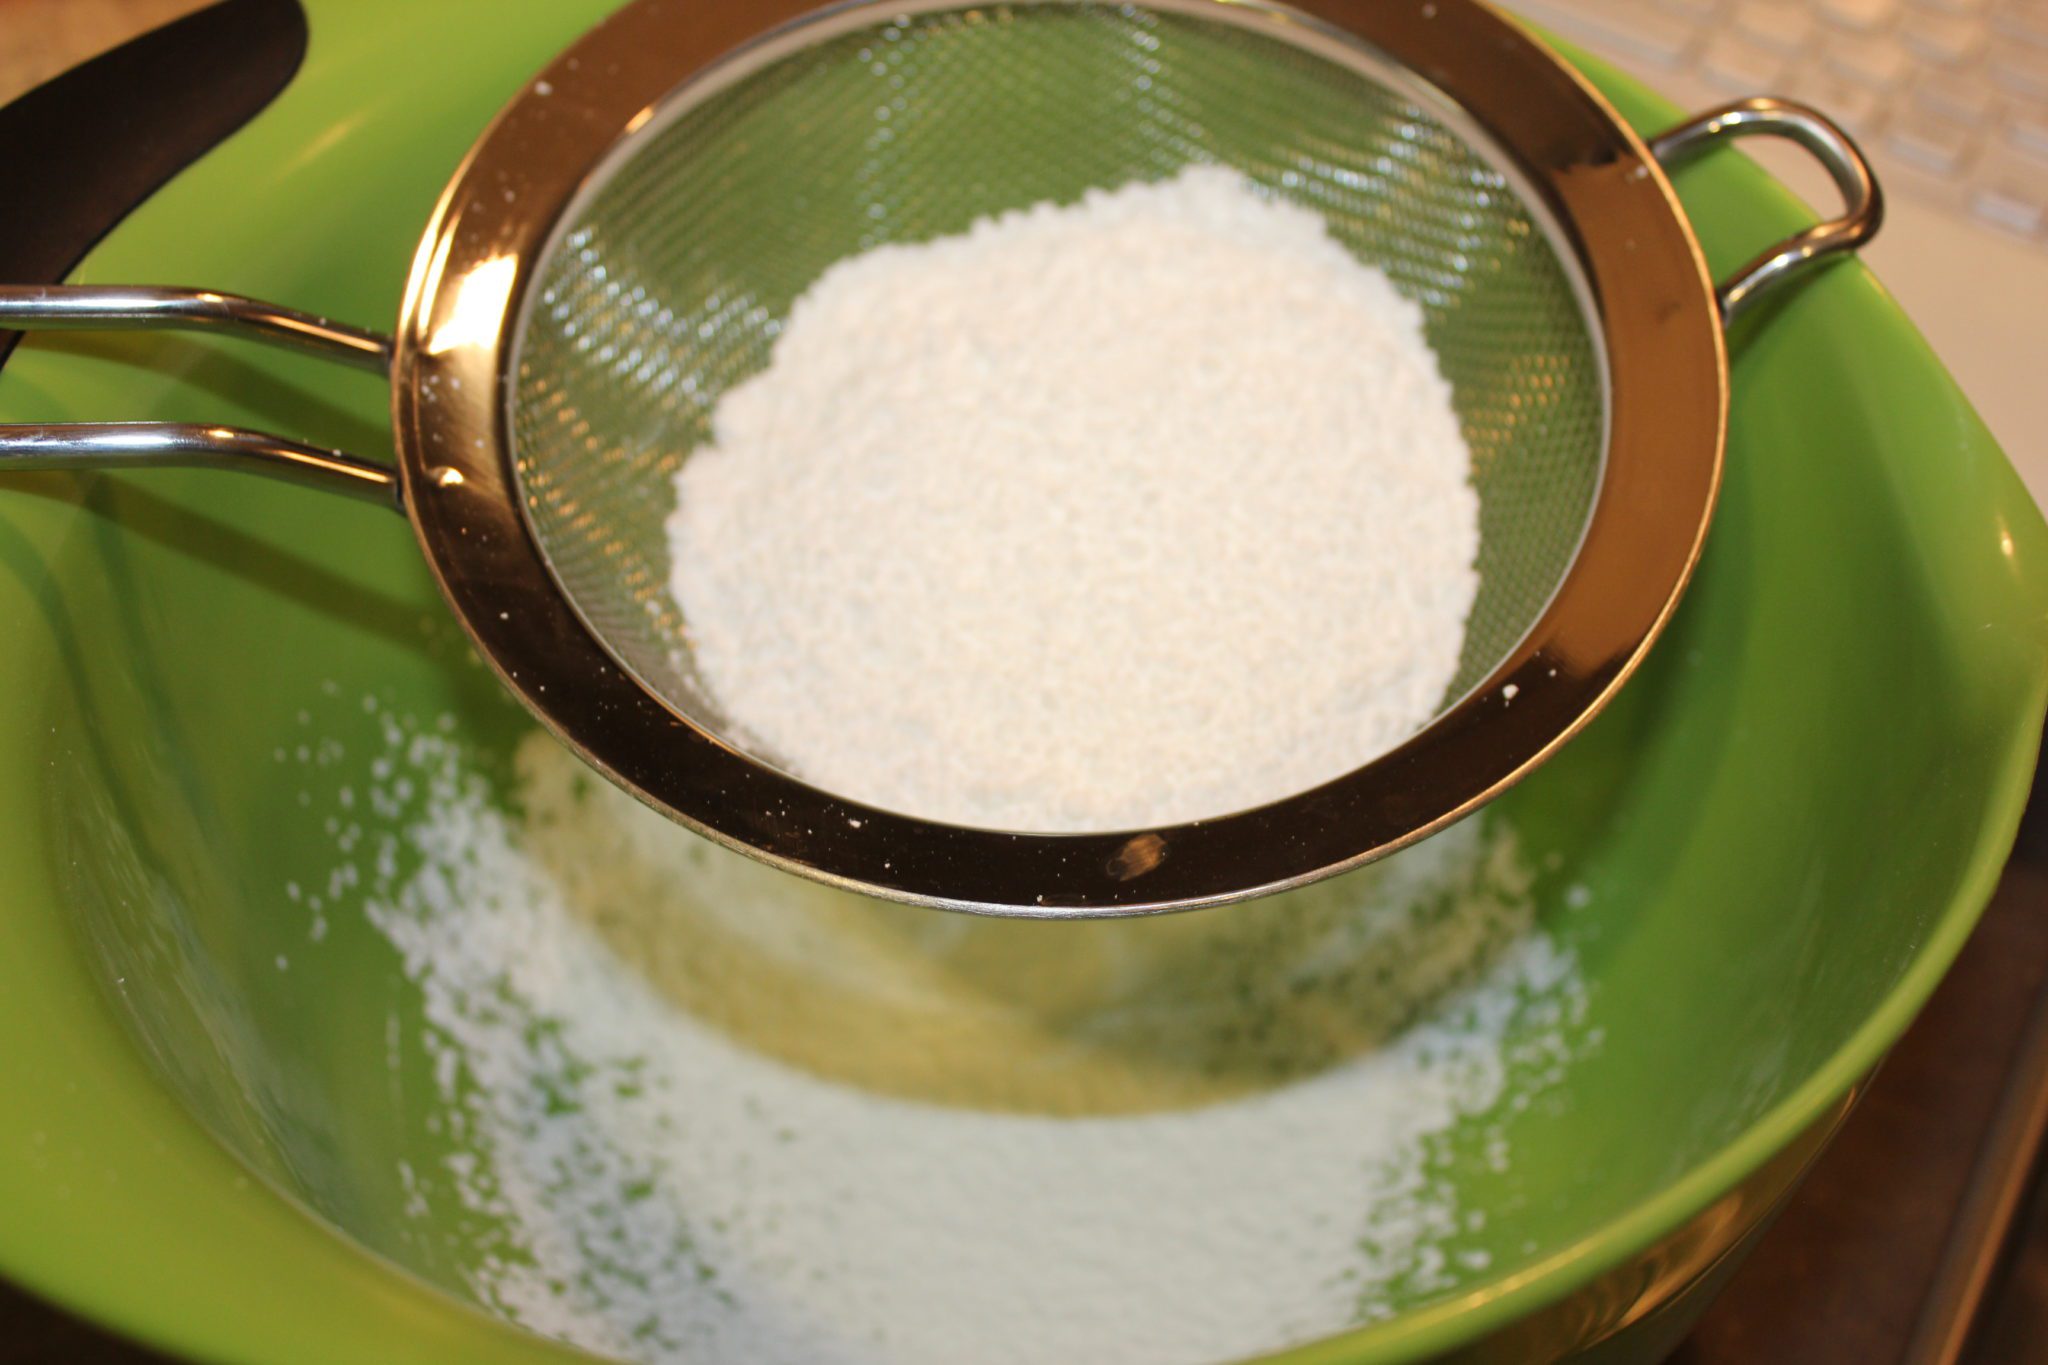
- In a large mixing bowl, sift the powdered sugar, almond meal and cocoa powder.
- You want your egg whites to be room temperature. You can do this two ways: 1) Leave out your eggs during the day or overnight 2) Submerge the eggs in lukewarm water for 4-5 minutes, or until they aren’t cool to the touch. I used the water method and it worked great! Next, pour your egg whites into your mixer and mix on medium- low (setting 4 on my Kitchenaid) until it starts to foam. Once it’s foamy, add the cream of tartar. Let this mix for another 30 seconds, and then add 1/4 cup of sugar gradually in a smooth stream over the bowl as it is running. Once you add all the sugar- set that sucker to 10 and let it whip! At about 4 minutes- stop the mixture and check for stiff peaks. If it droops, then keep mixing and check in a minute. It should look like this:

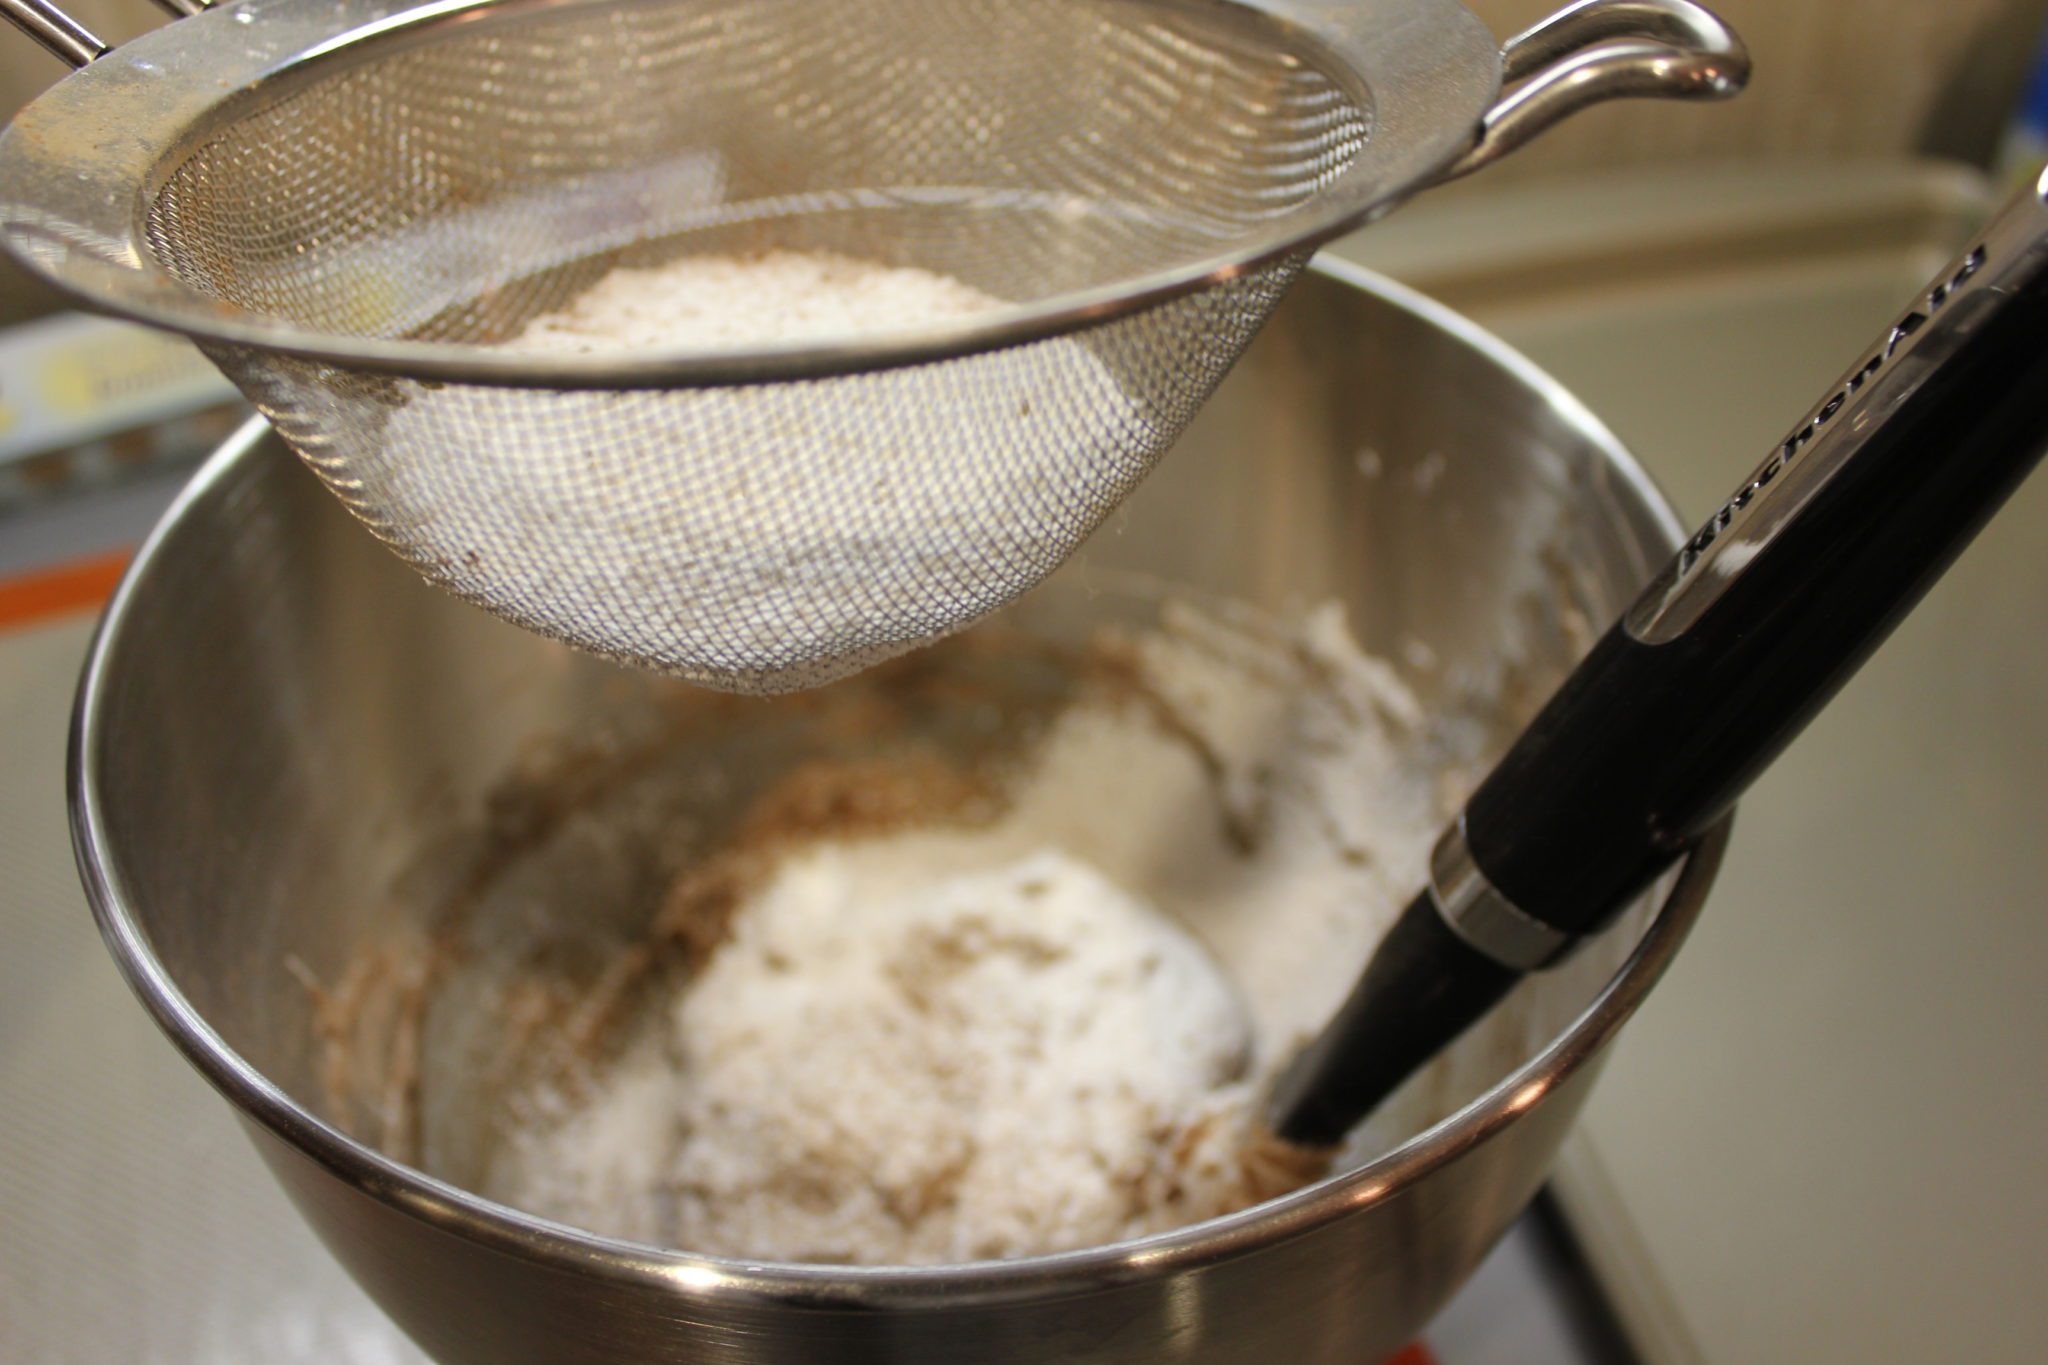
- Next you are going to sift half of the powdered sugar/almond meal mixture into the bowl with the meringue. You sift twice so that you don’t get lumps or bumpy macarons because you want the meringue to be as smooth as possible.
- Start folding the dry ingredients into the meringue DO NOT MIX IT, as you will destroy the lovely airiness of the meringue. Take your spatula and fold them bottom of the mixture over the top and then cut through the middle. Repeat.
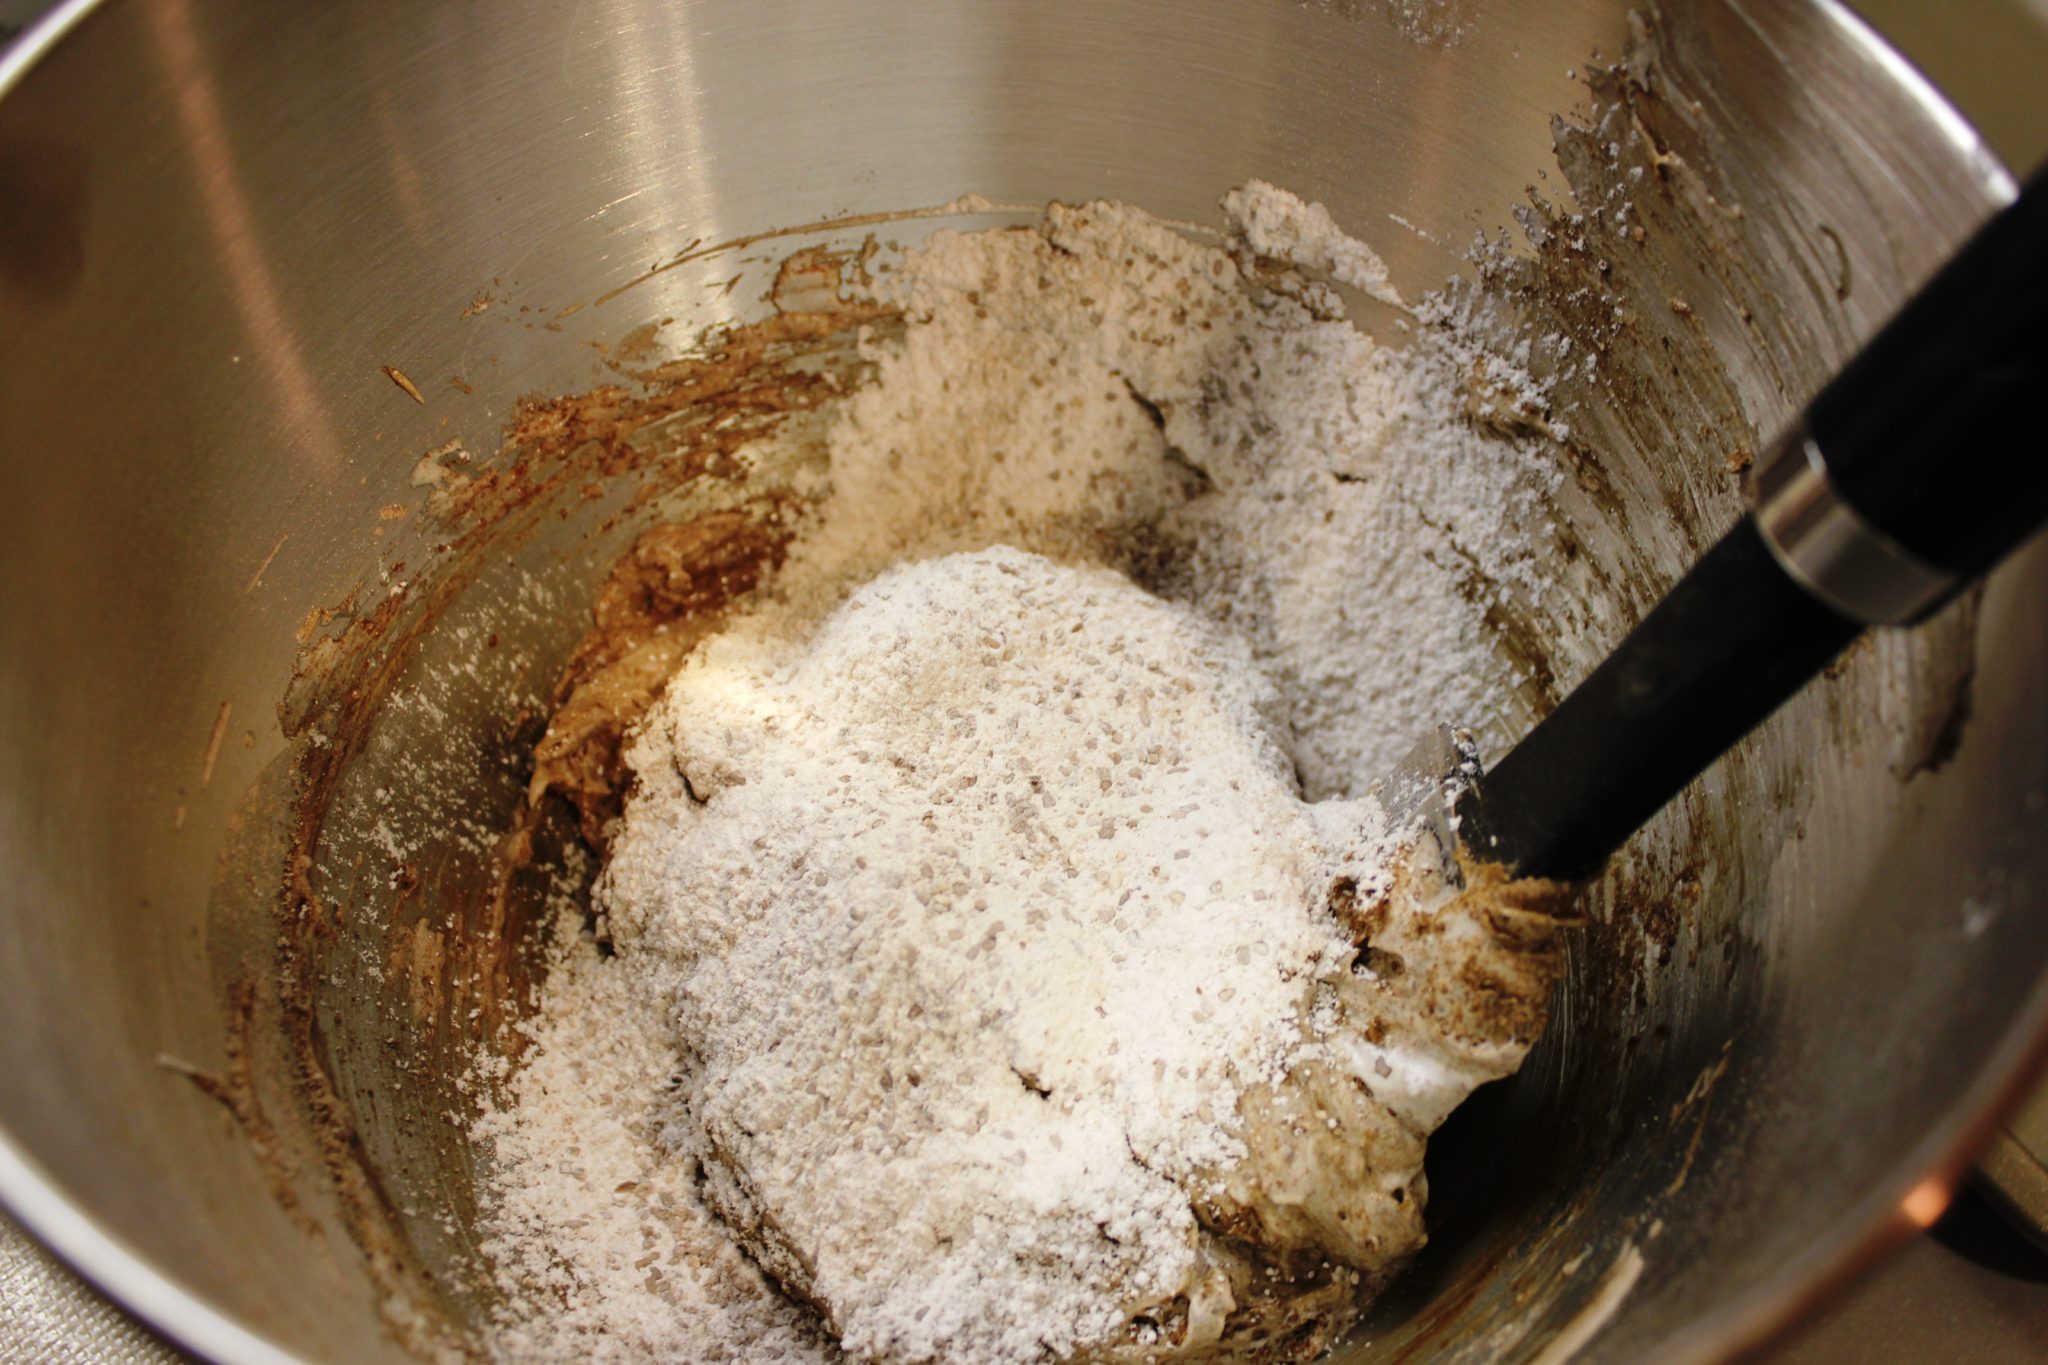
- Fold until you have incorporated all the dry ingredients and then sift in the other half the powdered sugar/almond meal mixture. Fold that in as well.
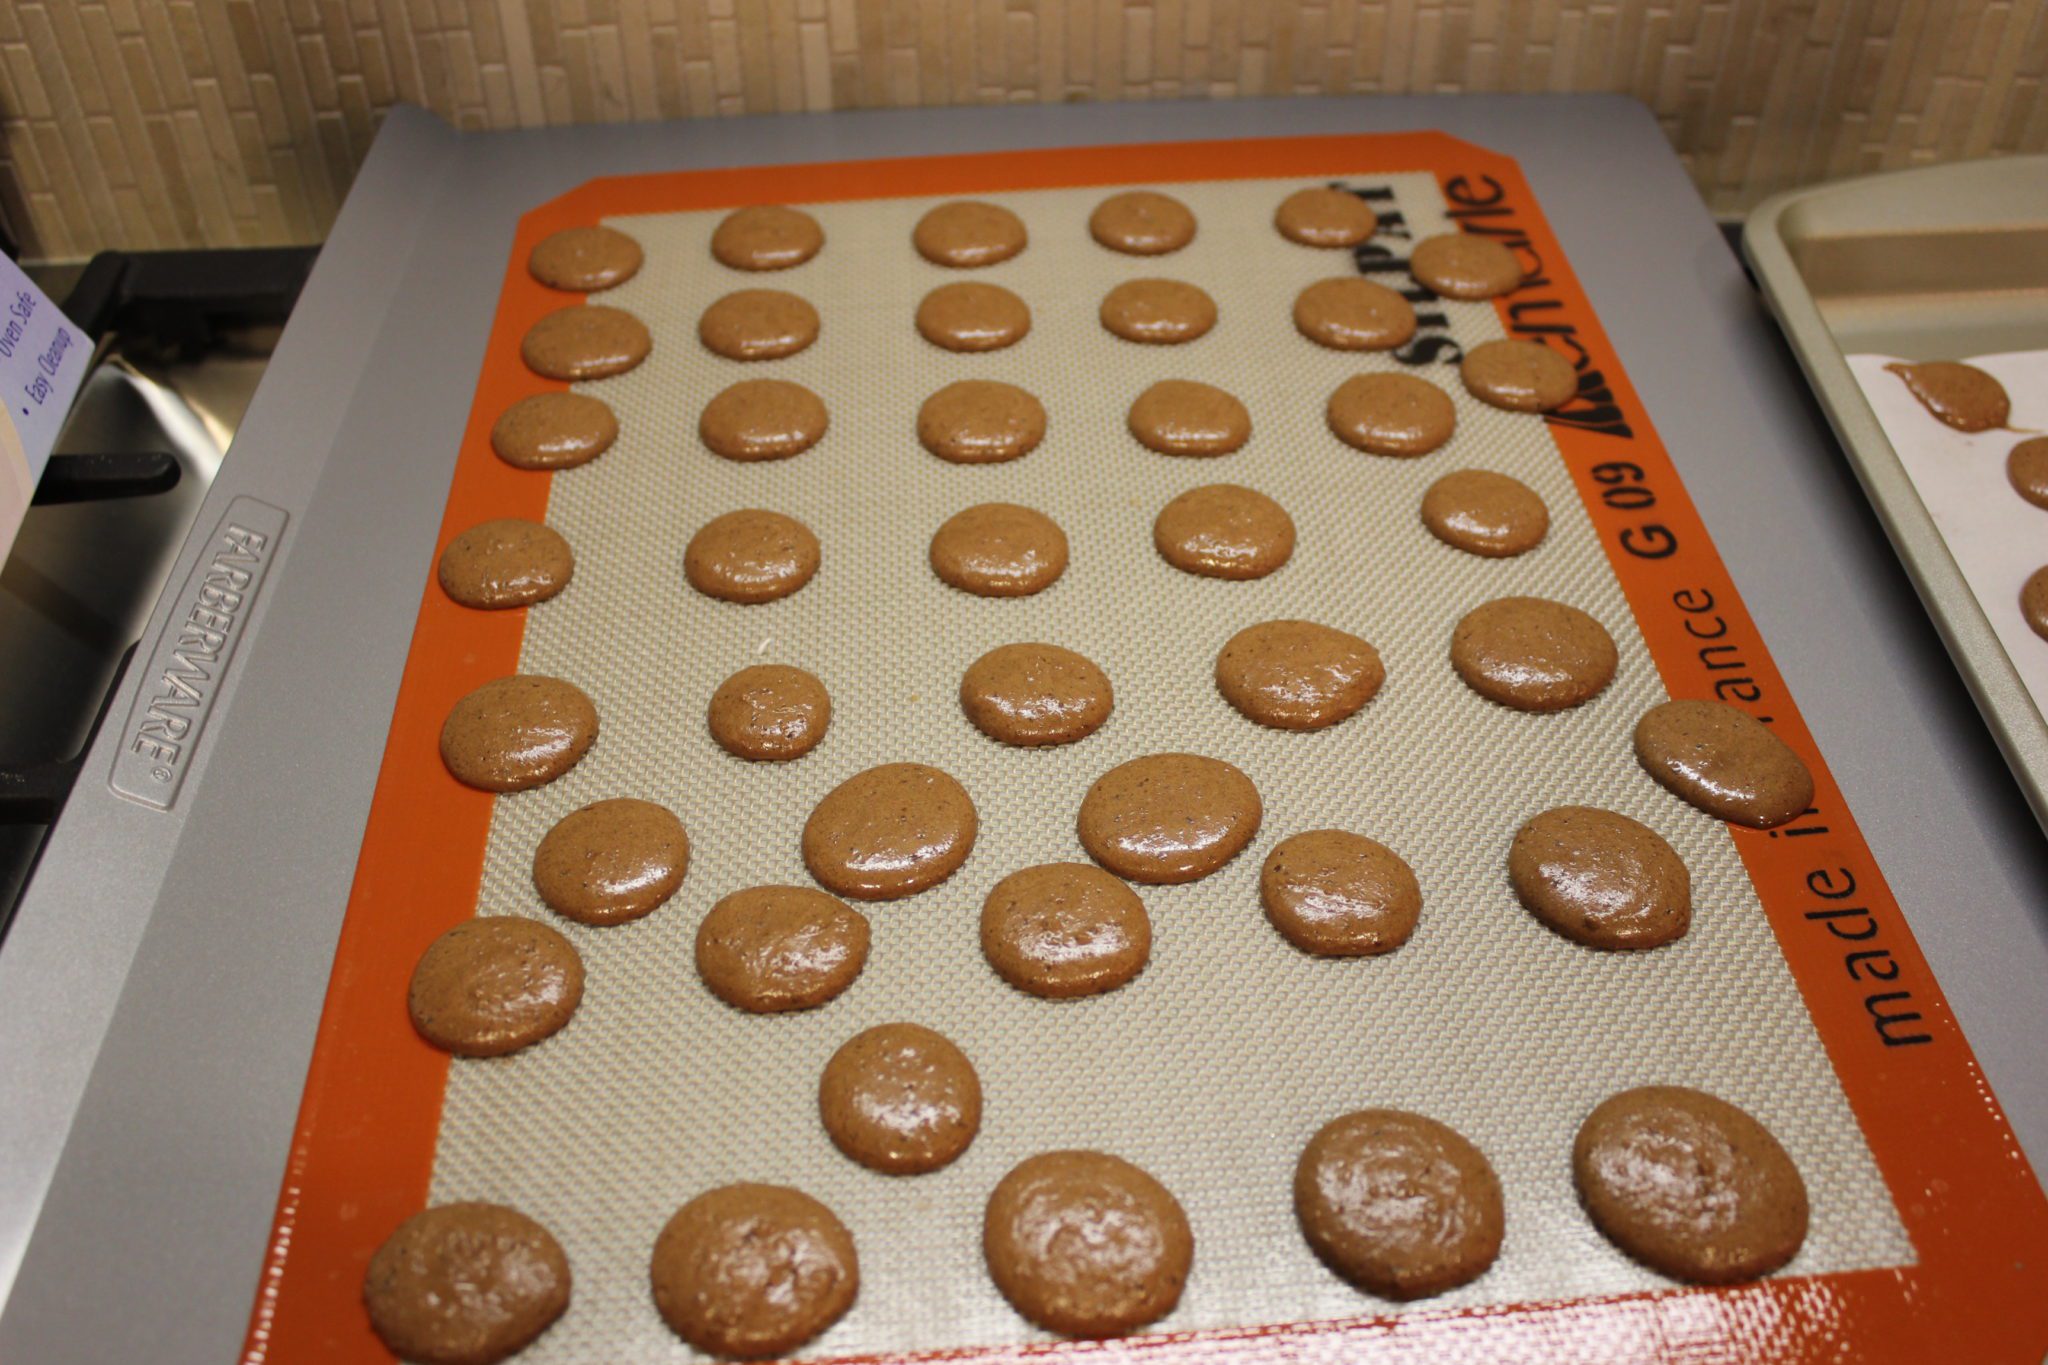
- Now you can either fill a piping bag or freezer bag with the meringue. I used a freezer bag with the corner snipped off and it worked great for me. Cover your baking sheets in parchment paper or a Silpat if you have one. Pipe 3/4 inch circles by piping at a 90 degree angle ( straight above) the baking sheet with even pressure and then swirling the tip when you release to make sure you don’t have a peak. IF you do get peaks- don’t stress it- use a lightly wet finger to push them down. Once you piped all your macaron shells, bang the sheet 5 times on the counter and rotate and bang 5 more time. This flattens the macarons and lets the air bubbles out and lets you have fun by making a lot of noise in the kitchen.
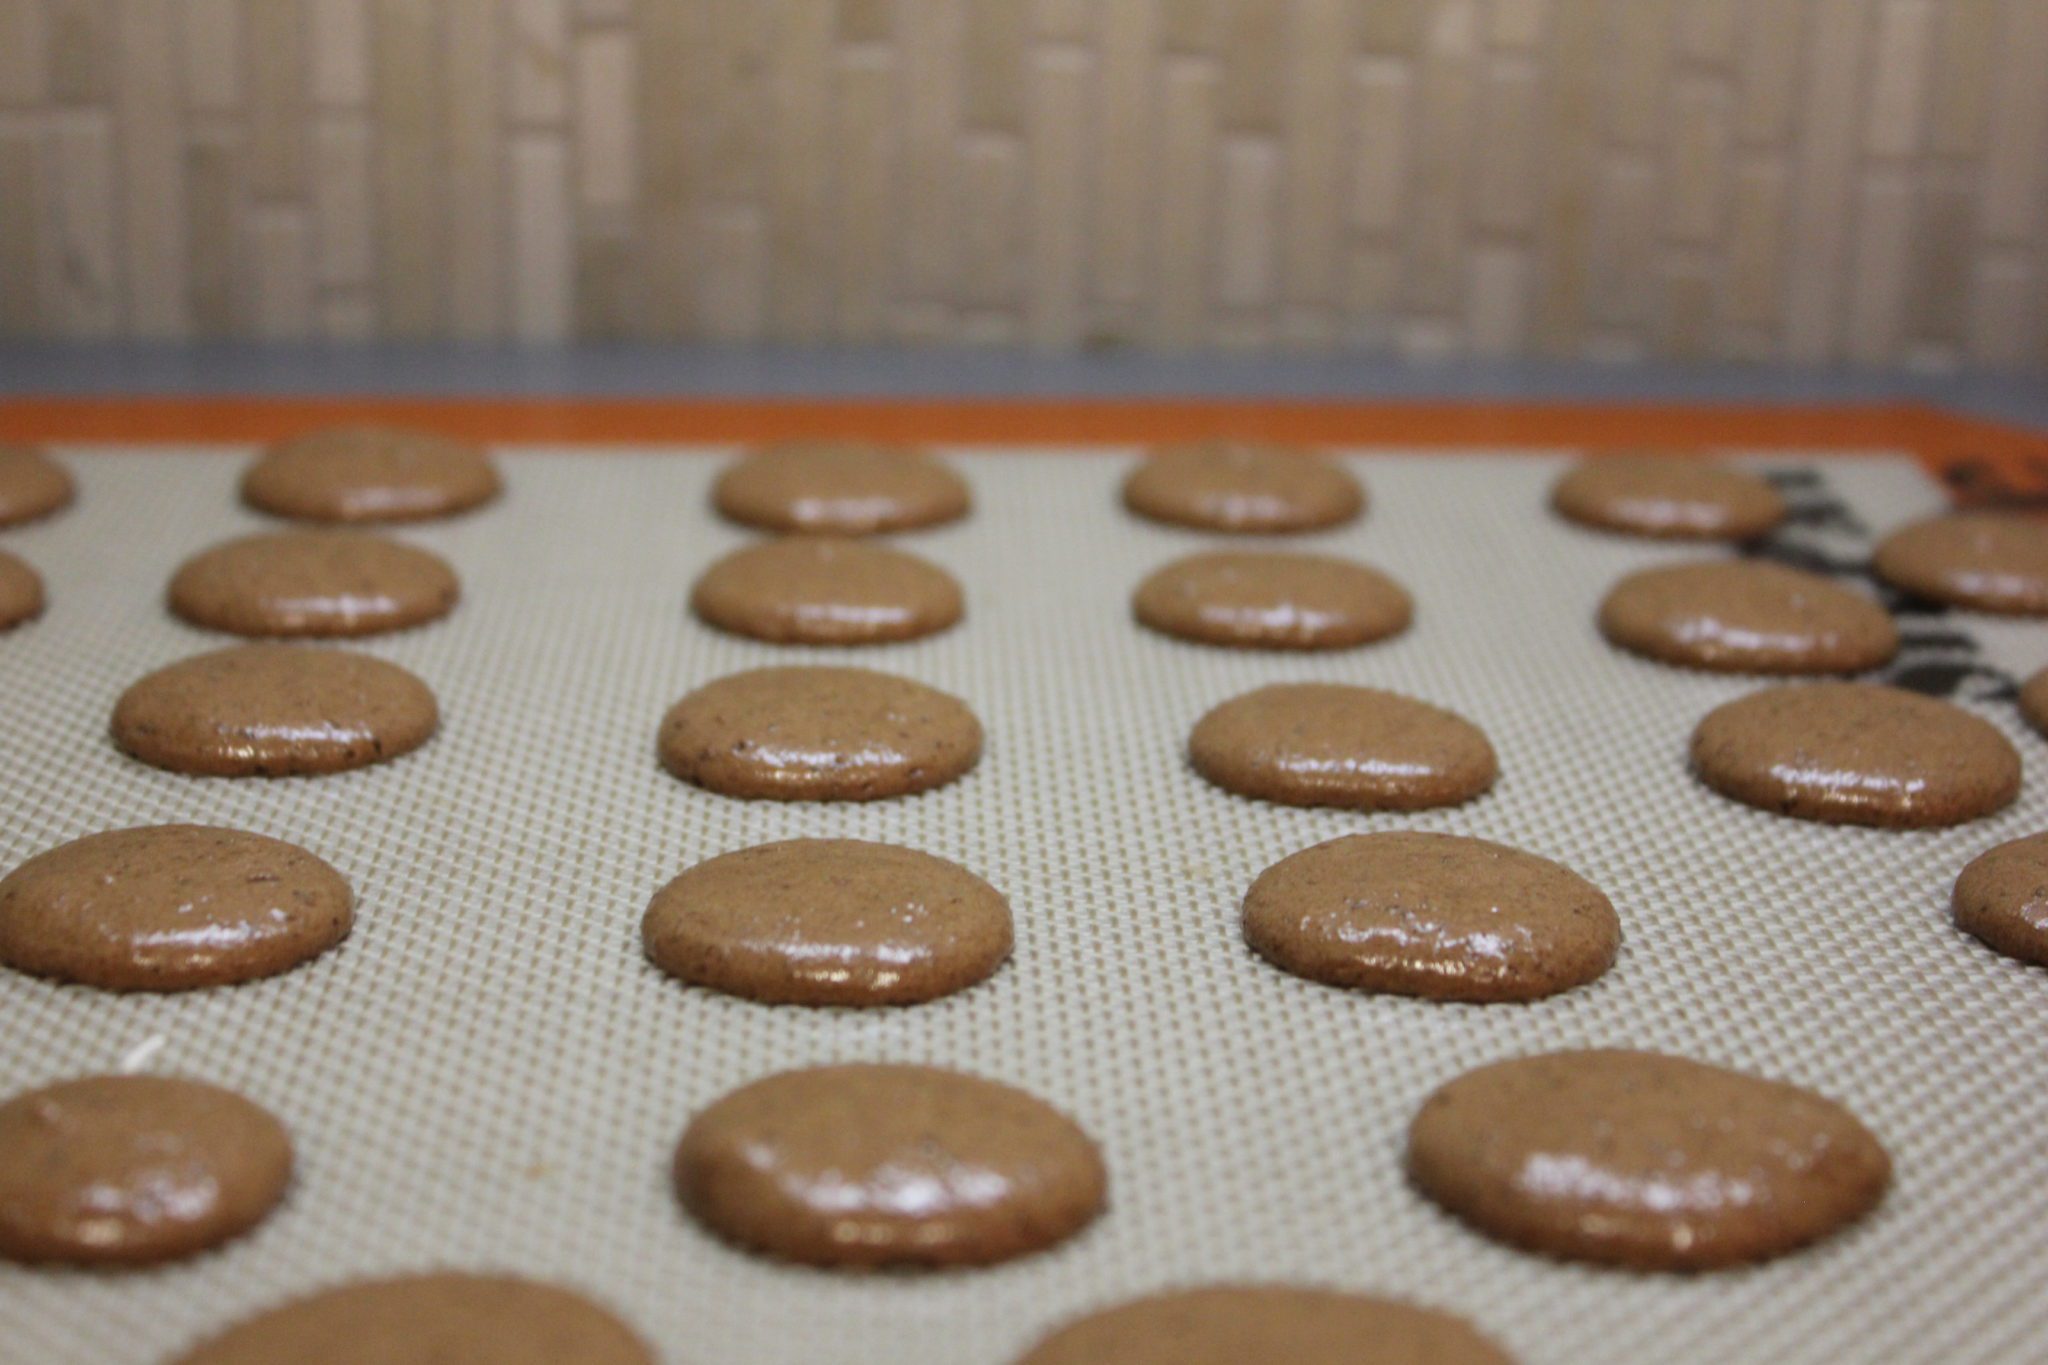
- Now let them rest for about 15-30 minutes to form a “skin”. The “skin” of the shells will firm up and prevent the macaron from cracking, so when trapped moisture wants to get out, it leaves through the bottom of the shell, creating the lovely “feet” of the macaron. You can tell they are ready when you touch the outside lightly and it doesn’t stick to your finger. They will also look a little shiny too.
- Bake your macarons one sheet at a time. Make your rack is on the very top level in your oven and bake for 10 minutes, rotating 180 degrees at 5 minutes. You’ll see the feet starting form if everything went right!
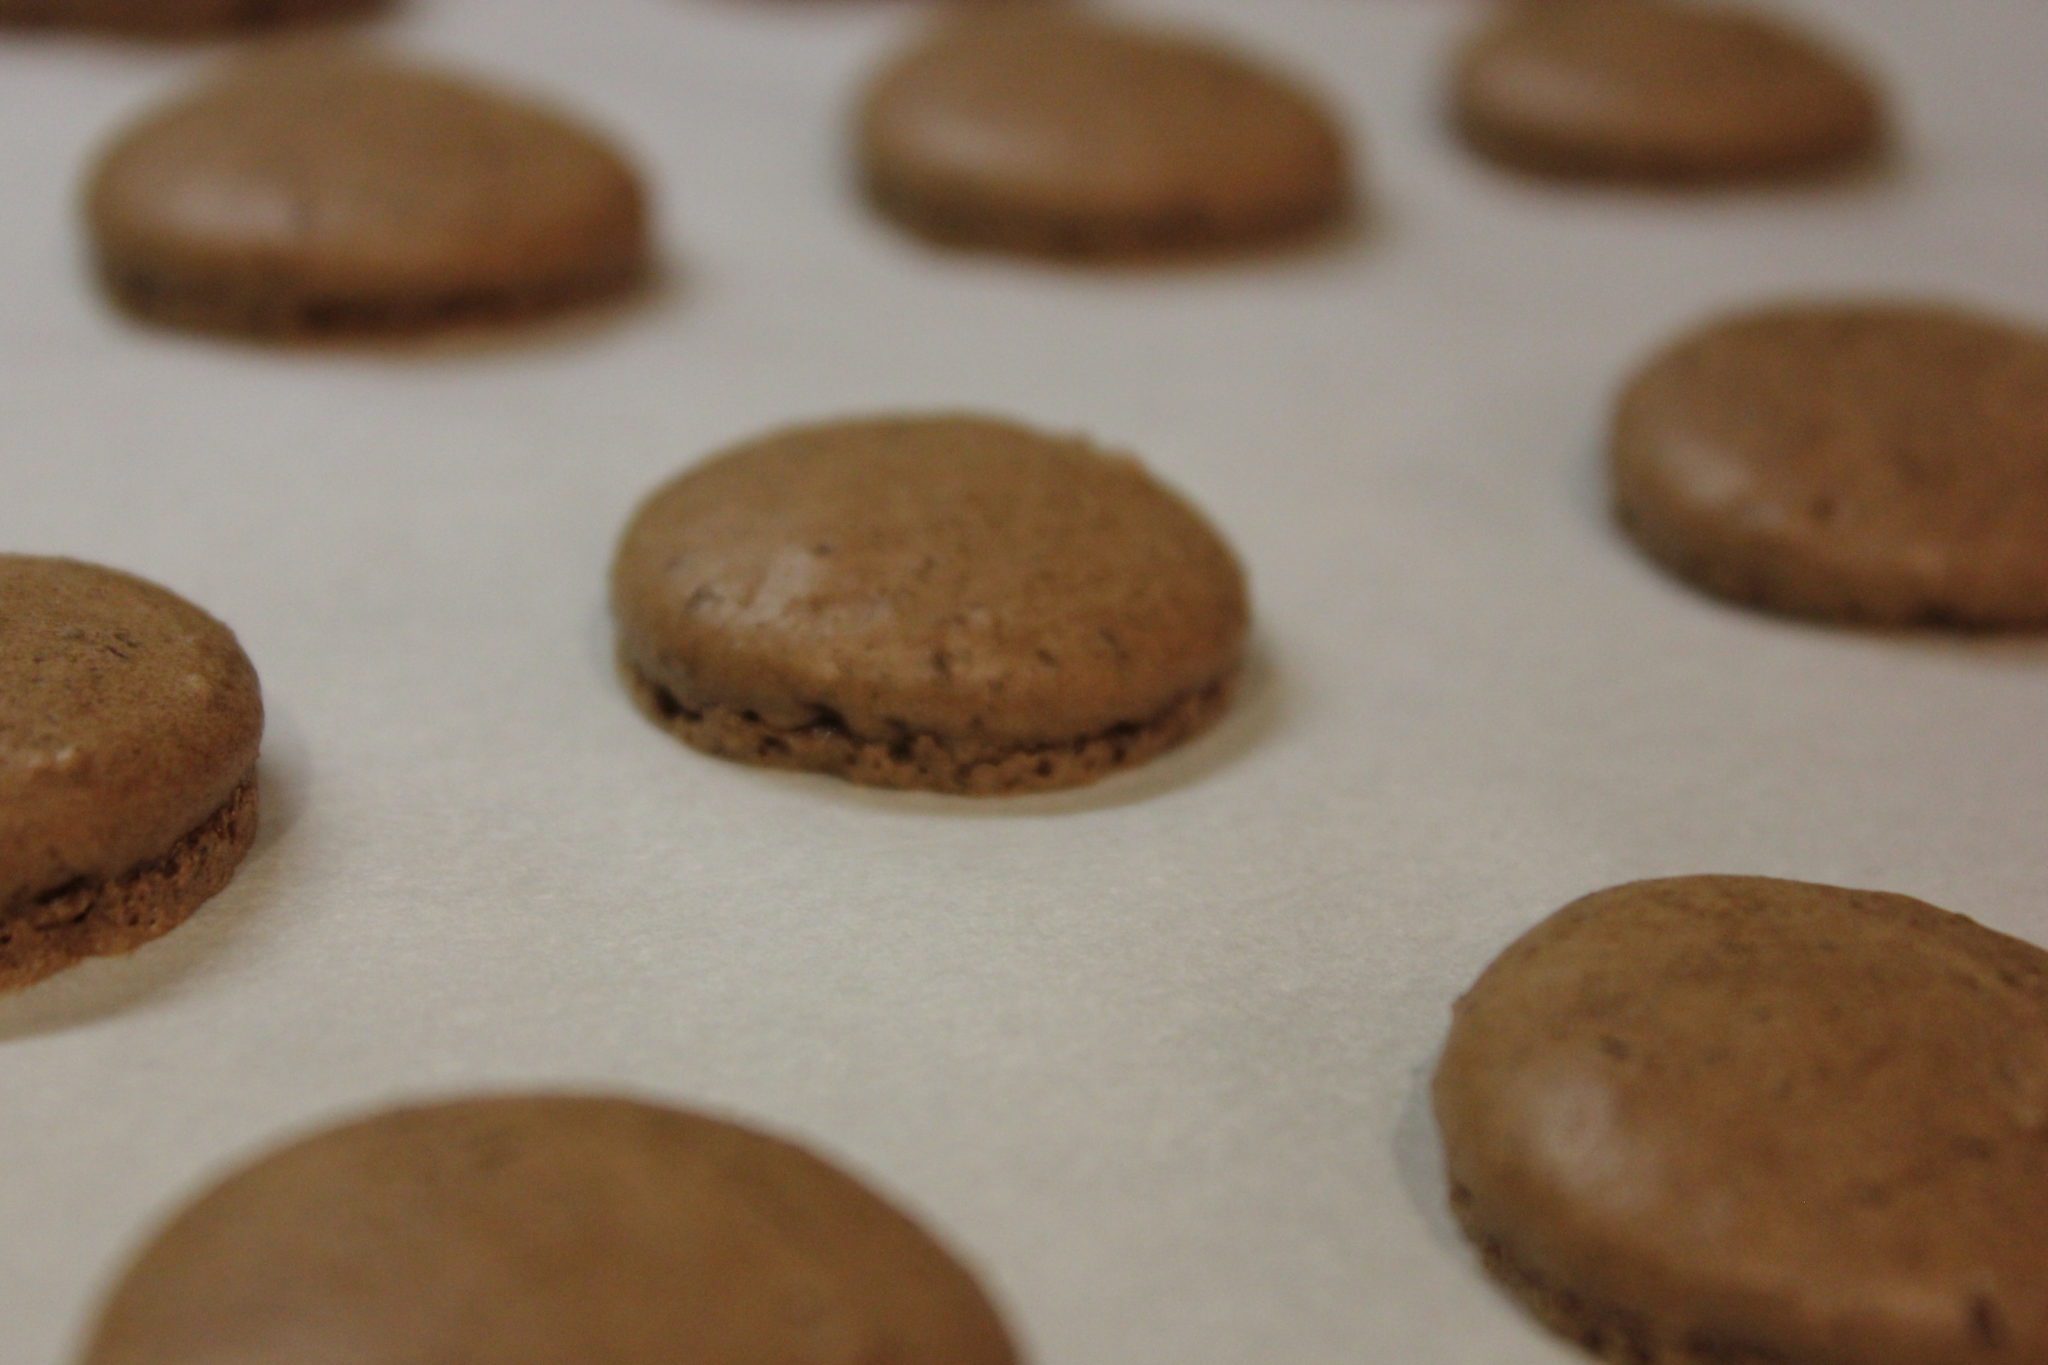
- Now remove your sheet and let it cool completely! This will help the macarons release easily from the parchment paper or Silpat. Now you can fill them up with whatever filling you choose and enjoy! You can store them in an airtight container for up to 5 days in the fridge, but make sure to let them sit out for 1 hour before eating them. Macarons straight out of the fridge are a funky texture that isn’t so tasty.
Salted Caramel Filling
- Pour your sugar int a 2-3 quart pan and put on medium low heat. Make sure your sugar is level in the pan.
- The edges should start melting at some point, let it sit and when it starts caramelizing, move the sugar from the edges toward the middle so it doesn’t burn. Let it sit and continue moving the caramelized edges toward the middle.
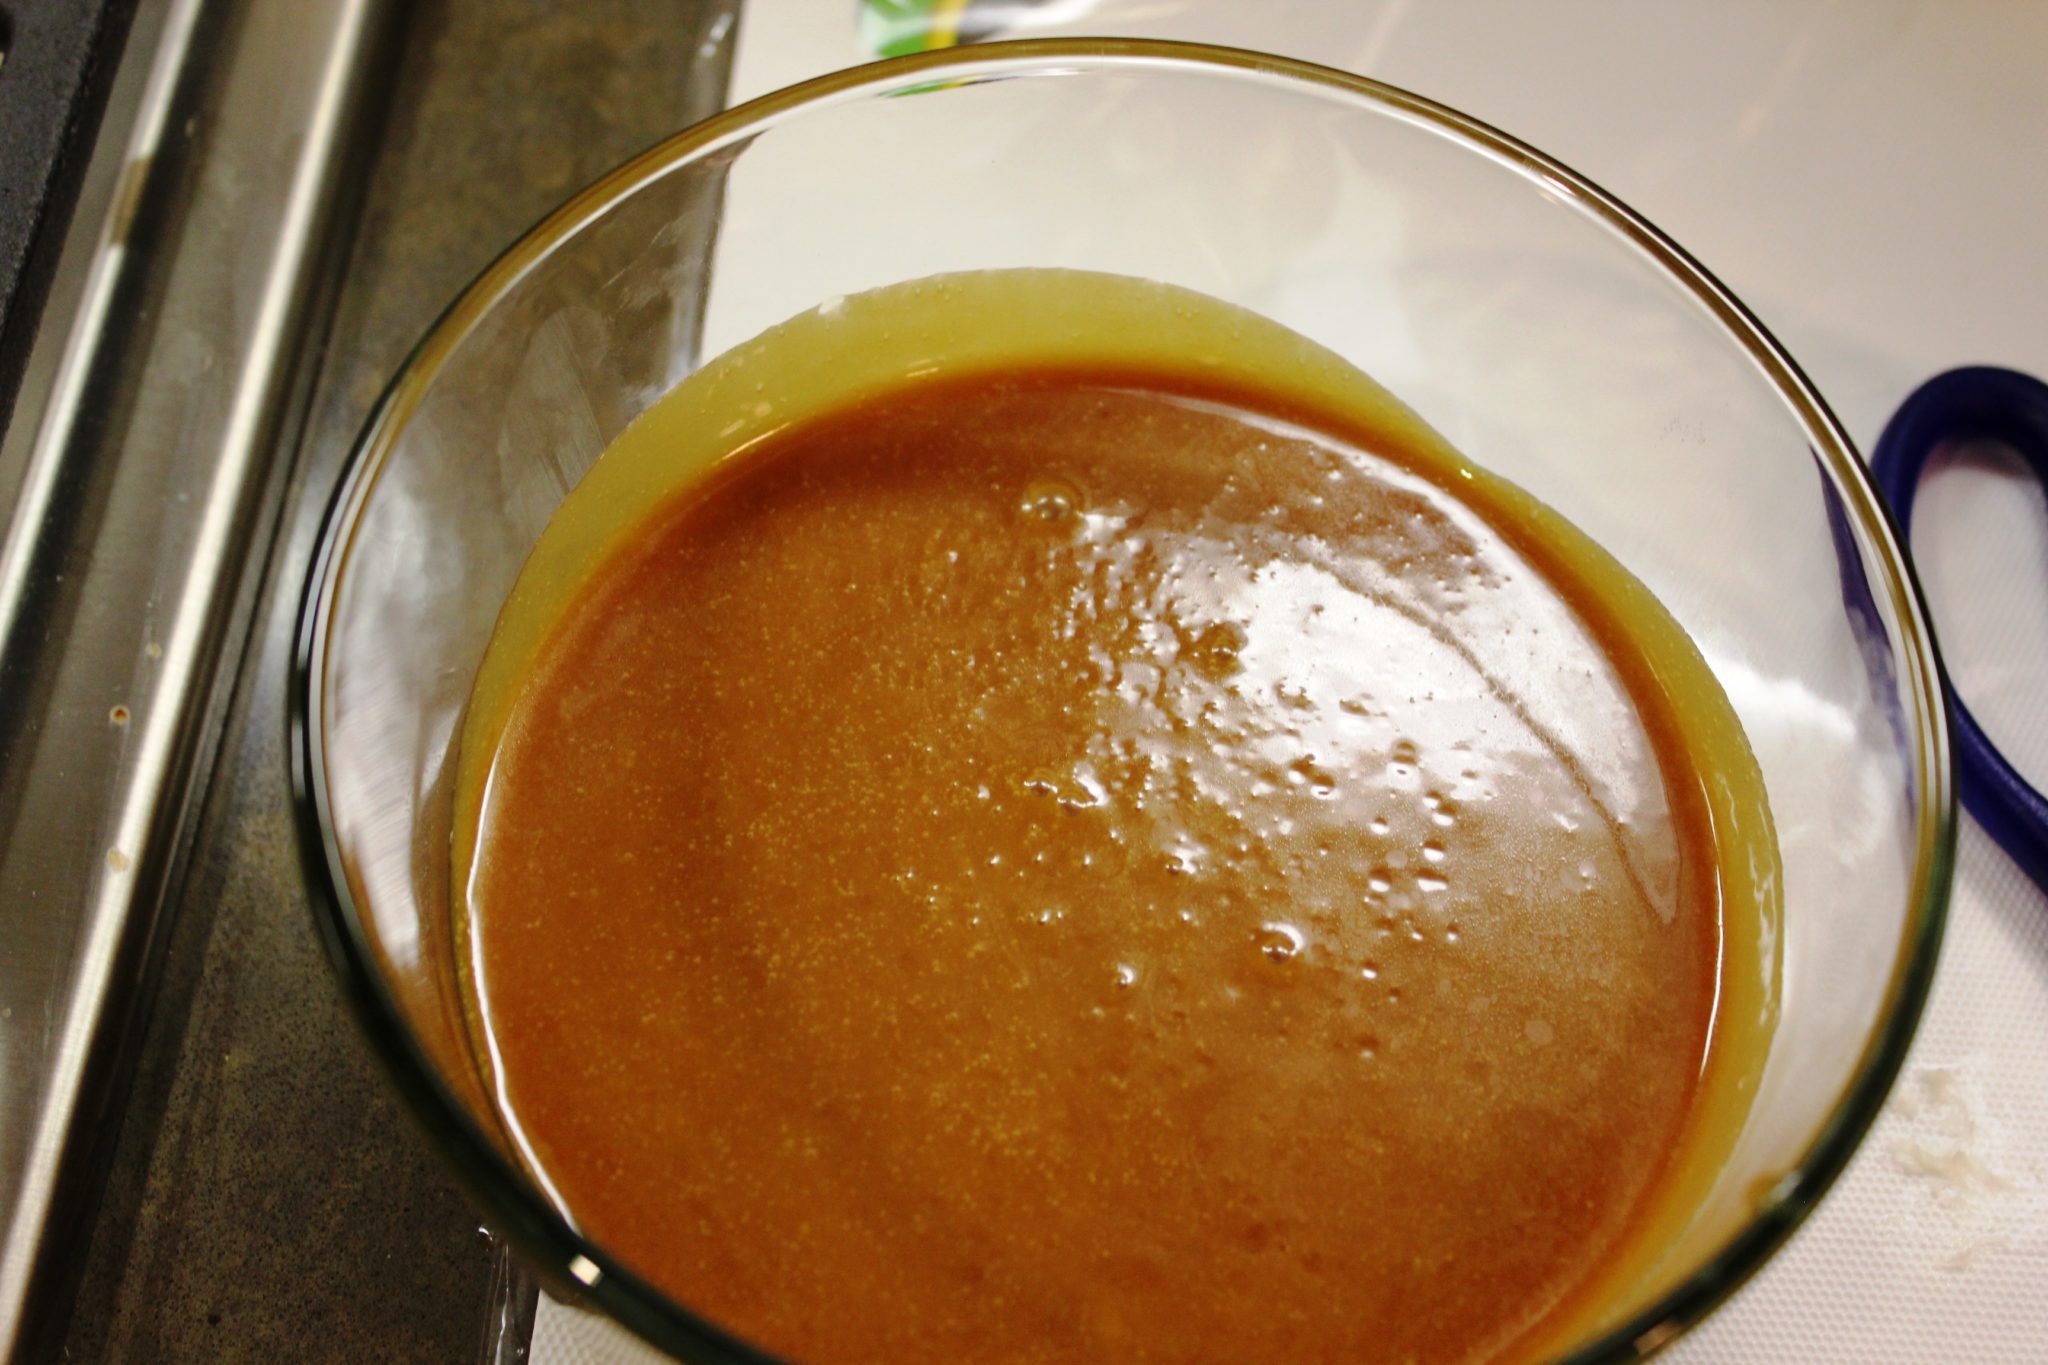
- When almost 50% of the sugar has melted start stirring slowly with a whisk. IF you have chunks of sugar, turn your gas to low and stir slowly. Otherwise, keep stirring until you get a nice copper-brown color.
- Once it reaches the color you want, turn off the gas and add all the butter at once. Be careful because it might splatter if you mix too vigorously.
- Once all the butter has melted add the salt and heavy cream and mix as well.
- Pour into a glass jar or bowl and let it cool. You will have more than enough to fill you macarons, but you’ll be okay with that I’m sure!


One Response
Comments are closed.